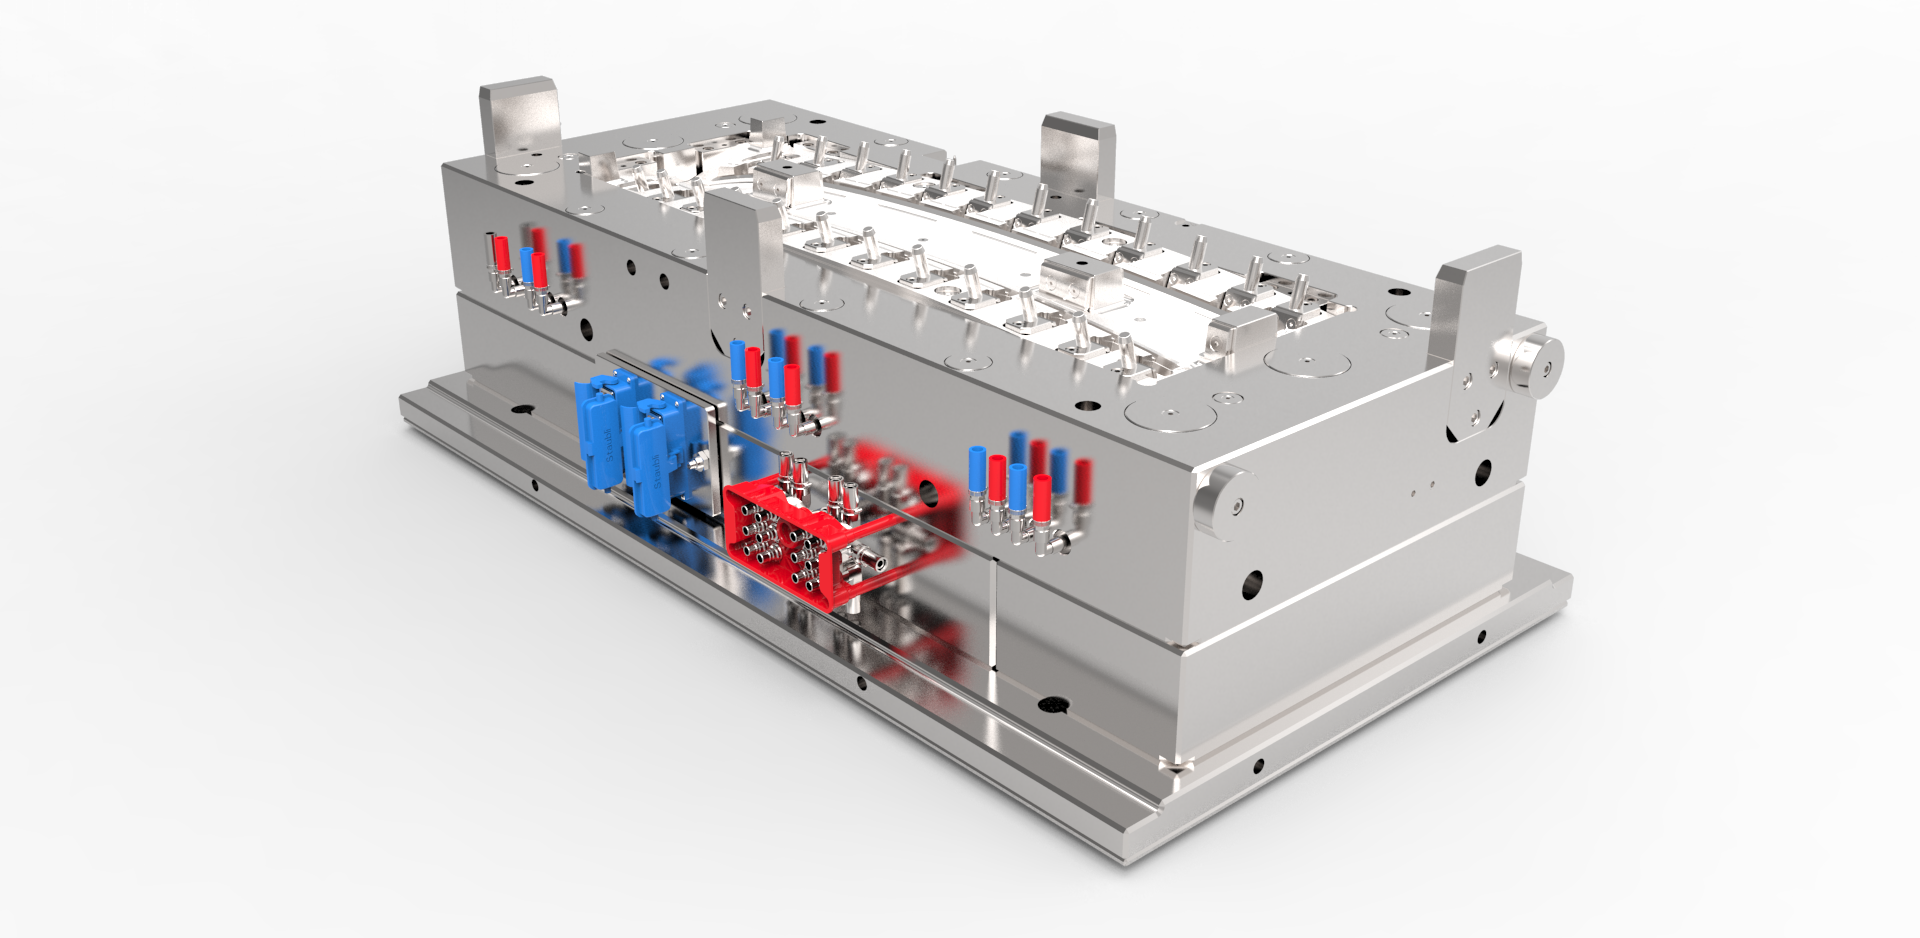
Injection molding is a popular manufacturing procedure for the bulk production of identical plastic parts. The process involves melting and injecting thermoplastic flakes into a mold to get the desired shape.
As a production or design engineer at your facility, you can use the Plastic Injection method to recreate complex plastic pieces cost-effectively.
That said, injection molding demands time and effort to get the desired results. If you’re interested in implementing this process in your manufacturing plant, keep reading for tips for Prototype Injection molding.
Understanding the Plastic Injection Molding Process
Before designing and creating plastic parts, you must have an understanding of the thick-walled injection molding process. This helps you determine whether or not your design will take into account the physical and chemical properties of thermoplastics.
It would help if you also considered the temperatures, pressures, and other factors in the injection molding process.
- Step 1: Identifying the material used for the molding process. The material should be strong enough to withstand high pressure and temperature during molding.
- Step 2: Shape Designing. This includes deciding on its size, shape, and geometry.
- Step 3: Determine the requirements. How many cavities will be needed for the part, and what type of cooling system will be used?
- Step 4: Select the Pressure. Choose how much pressure will be applied during the molding process and what type of lubricant should be used to reduce friction between moving parts inside the mold cavity.
- Step 5: Testing: Check the prototype’s performance before going into production with a mold.
Here’s How to Achieve a Near-Perfect Injection-Molded Plastic Product
Here are useful tips for creating near-perfect injection molds:
Select the appropriate surface finish for the design
The surface finish of a product is the texture, pattern, or design applied to the surface of a product. You can use the surface finish on any material.
Some standard finishes include:
- Glossy: This finish is shiny and smooth. It reflects light well and has a high gloss level.
- Matte: It has no shine and is not reflective at all. It has a low gloss level.
- Embossed: This finish has an uneven texture with raised areas on the surface that create an embossed effect when viewed from different angles.
- Etched: It has an uneven texture with recessed areas on the surface that create an etched effect when viewed from different angles.
Be Conscious of Uniformity
When creating injection molds, keep uniformity in mind and design the product accordingly. This helps ensure that there are no weak spots in the mold and that it is uniform throughout.
The injection process flow can be hampered by limits or thickness variations in your details, leading to undesired designs. Maintaining a steady thickness of 2.0 to 3.0 mm is a good idea.
Include drafting in your work
You can remove your pieces from the injection mold by drafting or by including a draft angle. The CAD software will allow you to create a 3D model of your part. It can then be printed out on paper or cut out from cardboard. This will allow you test it before making it out of plastic. Once satisfied with your draft, you can send it off for production.
Use Radius Wherever Possible
Any injection-molded object with sharp corners may be difficult to assemble. Design the sharp corners out since the air gets trapped there.
Final Word
Injection molding is an effective way to produce parts quickly and accurately at a lower cost.
By taking the time to understand the injection molding process and following these tips, you’ll be able to create a near-perfect product with minimal effort. Ask us in the comments if you still have any questions or concerns.


